Sew Sarah

adventures in dress-making

Category: Handmade house

First attempt at cushions

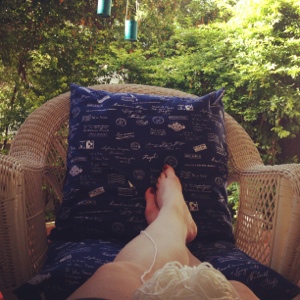
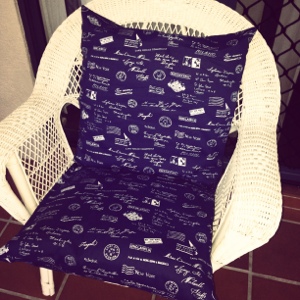
In fairness, this is actually my second attempt at cushions. The first were pretty terrible. For some reason, I was scared at putting a zip in and did a button closure instead. But the insert was too big for the cover and it was just lumpy and bumpy.

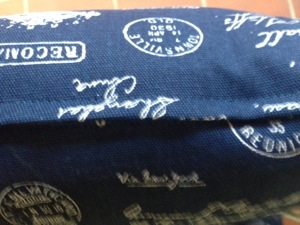
This time I popped in a dress zip and inserted it as lapped, just as I would on a dress. I did this before I stitched up the rest of the cushion. I have no idea if this is the right way or not as I did them really early one morning on the weekend, in a mad rush to have the house prepared for overseas visitors. I have to say, I am pretty happy with them. I must warn anyone attempting this at home- if you insert the zip first, make sure you undo it before stitching up the sides!!!! Duh.

All in all, from cutting to stuffing it took me about an hour.

I have no idea why I was scared of making a cushion. Maybe because I didn’t want the house to look like a home-ec experiment!! Hopefully I have succeeded and have the approval of my ‘no frills, flounces or florals in the house’ husband! With a small success under my belt, I might try the lounge room cushions next.

20140429-064758.jpg

20140429-064831.jpg

20140429-064842.jpg

DIY Papasan Cushion

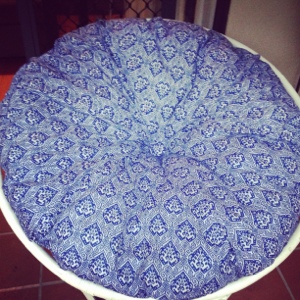
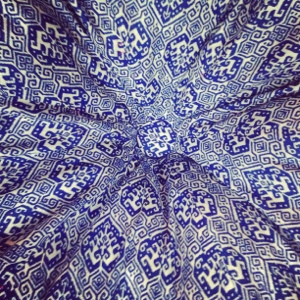
Finally made my damned papasan cushion. It was pretty simple but a little more time consuming than anticipated due to all the seams, not having enough fabric and the overlocker playing-up. Because of the directional print (and my fabric was about an inch too narrow), I segmented the round cushion into six wedges with each of the little arrows on the print pointing inwards. The radius on a standard papasan cushion is about 27 inches plus seam allowance (if
anyone is interested in making their own).

I centred the cushion with two large self covered buttons each side. I may still stitch dimples into the cushion to stop the filling moving about but may wait to see if I need to put another bag of poly-fill.

Materials:
1. About 4.5 metres of fabric
2. 1 kg of poly fill
3. 2 very large self covered buttons

It is super comfy and can’t wait to spend a lazy Sunday morning reading the paper and drinking coffee in it. May even get up early tomorrow morning before work and give it a road test!

20140413-183957.jpg

20140413-184041.jpg

Bunting for all seasons

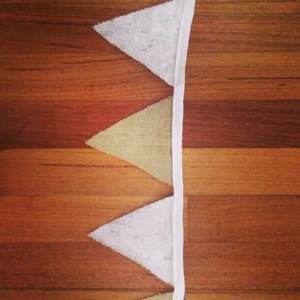
I like the idea of bunting but always seems so much effort. For some reason I thought that using hessian (or for those who want to dress it up, burlap) would be less work. Um yeah. No. Bad call.

Not only did I ruin my pinking shears and the needle on my machine and get blisters from the shears, the hessian have me terrible hay fever and the short fibres covered everything. Then when I painted it, the fibres and paint matted to my fingers (like I had wattle and daubed my own fingers). Despite this apparent pain and suffering, I am really happy with it. It is about three metres long but hate heights so will need my other half to hang it for me.

I did have it in the house but think it will work better on our patio. More photos to come.

20140304-220807.jpg